
Painting Over Wallpaper vs. Removing It: Which Holds Up?
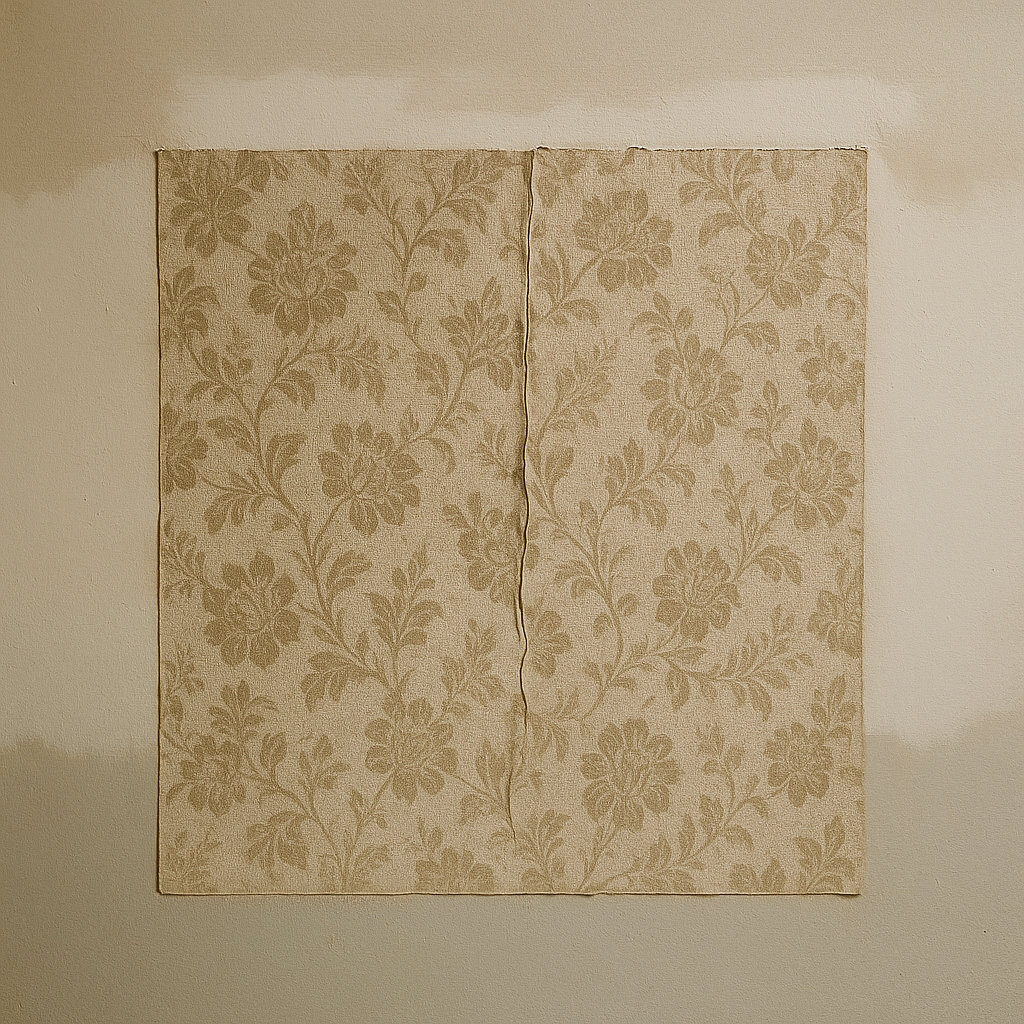
You are standing in a room with dated wallpaper, a paintbrush in one hand and a scraper in the other, trying to decide which tool wins. Painting straight over the paper looks like a shortcut. Stripping it looks like the right thing to do. Both instincts are half correct, and which one applies depends less on how much time you have and more on what is happening behind that paper.
Quick Answer: The professional default is to remove wallpaper before painting, because a bare, primed wall gives the flattest, longest-lasting finish. Painting over the paper is acceptable in a narrower set of cases: when the paper is well-adhered, the seams are tight, and it is a paintable surface (not vinyl or heavily textured). Everything below is about reading the situation you are actually in.
Why Removing Is the Standard Choice
A wall stripped back to primed drywall has nothing between the paint and the surface. No seams to telegraph, no paste that can re-soften, no printed pattern waiting to ghost through. That is the whole reason removal is the preferred default: it addresses the problem rather than burying it, and the finished wall behaves like any other painted wall for years afterward.
The cost of that result is labor. Stripping wallpaper is slow, wet, messy work, and it does not always come off cleanly. Paper that was hung well, or hung a long time ago with a strong paste, fights back. The real hazard is the wall underneath. Whether the drywall was sealed before the paper went up makes a large difference in how cleanly the paper releases, and papering over unsealed drywall is a common shortcut that can turn removal into a surface-repair job. That leaves you patching walls instead of painting, which is a bigger job than the one you started with.
So removal buys you the best long-term surface, but it takes time and carries a real risk of surface damage to walls that were papered over raw drywall.
When Painting Over Is Actually Acceptable
Painting over is not automatically the lazy option. It is a legitimate choice when the conditions line up. The paper has to be firmly stuck down with no lifting edges, the seams have to be tight and flat, and it has to be a type that takes paint rather than repelling it. Meet those conditions, and painting over saves hours and, more importantly, avoids the drywall damage that removal can cause on a poorly prepped wall.
The trade-off is a set of risks you are choosing to accept. Seams and cut edges tend to show through the finished coat as fine ridges. Wet paint can soak into the paper and reach the paste behind it, softening the glue and letting sections bubble or peel after the fact. Vinyl and textured papers bring their own problems. And you are handing a harder job to whoever paints this room next, because painted-over paper is more stubborn to strip than bare paper.
Think of it like paving over an old road instead of digging it out. If the roadbed underneath is solid, the new surface rides fine for a long time. If the base is already crumbling, the fresh layer just hides the failure until it cracks through. Wallpaper works the same way: paint only borrows the soundness of what is under it.
How to Paint Over Wallpaper the Right Way
If the paper passes inspection and you decide to paint over it, the prep is what separates a clean result from a peeling mess.
Start by securing every loose spot. Any lifting seam or corner gets glued back down flat and left to dry, because paint will not fix a lifting edge; it will only coat it in place. Next, deal with the seams so they stop advertising themselves. Skim a thin layer of joint compound over each seam, feather it out past the ridge, and sand it smooth once it dries so the transition disappears under your hand. This is the step most people skip and later regret.
Then comes the part that decides the whole job: the primer. Use an oil-based or shellac-based primer, not a water-based one. Water-based primer reintroduces exactly the thing that loosens wallpaper, which is water, and it can re-wet the paste enough to bubble the paper you were trying to preserve. An oil or shellac primer seals the paper and gives your topcoat something stable to grip without soaking the glue. Once that primer is dry, you paint as you would any primed wall.
How to Remove Wallpaper the Right Way
Removal follows a predictable sequence, and each step exists to make the next one easier. First, score the paper with a perforating tool so liquid can get behind the face. Then soak or steam it. Warm water with a stripping additive, or a wallpaper steamer held against the surface, softens the paste so the paper releases instead of shredding.
Once the paste lets go, scrape the paper off in sheets where you can, working gently around outlets and corners. The job is not finished when the paper is down. A film of old paste stays on the wall, and it has to be washed off completely, because anything you leave behind will interfere with primer and paint. After the wall dries, prime it, and only then paint. Skipping the paste wash is the removal-side equivalent of using the wrong primer: a small shortcut that undermines everything on top of it.
The Factors That Decide It
Four things settle the choice. First, the condition and type of the paper: sound, paintable, tight-seamed paper is a candidate for painting over, while lifting, vinyl, or textured paper points toward removal or heavy skim-coating. Second, the wall behind it: if you know or suspect the drywall was never primed before papering, aggressive removal gets risky, and painting over may be the gentler path. Third, time. Removal is the longer job by a wide margin. Fourth, the quality you are after: for the flattest, most durable, most future-proof wall, removal wins, and for a sound wall you want refreshed quickly, a careful paint-over can hold up well.
There is also a climate angle worth naming, and it cuts both ways. Cold, dry indoor air in winter can make old paper brittle and its edges more prone to lifting, while warm, humid stretches the rest of the year keep the paste damp and slower to release. Neither season is the "right" time in isolation; both are simply reminders that moisture and temperature act on wallpaper year-round, which is exactly why the water-based primer mistake causes trouble no matter the month.
A Note on Working Safely
Most of this work is low-hazard, but two tools deserve respect. A wallpaper steamer emits hot water and hotter vapor, so keep your hands clear of the plate and let the escaping steam vent away from your face. And because walls get stripped from top to bottom, plan your ladder or step stool on stable, dry footing, and move it rather than leaning for that last stubborn strip. Wet floors and wallpaper work go together, so wipe up drips before they become a slip.
Frequently Asked Questions
Two reasons beyond keeping the paste dry. A shellac-based primer seals in old stains and the inks in vintage wallpaper, so those colors and marks do not bleed up through the new paint the way they can under a thinner coat. It also recoats quickly, often within an hour, which a water-based primer applied over paper cannot safely do, because it requires the paper to stay dry and the paste to remain set. So, shellac both blocks bleed-through and lets you keep moving, which is why it is the standard pick for this job even among painters who use water-based primer everywhere else.
Usually, yes, unless you flatten them first, and there is a specific method. Skim each seam with joint compound, then feather it out wide with a 6-inch knife so the fill tapers gradually rather than leaving a hard shoulder. Once it dries, sand with a fine grit, somewhere around 120 to 150, until the ridge disappears under your hand. Do that before you prime, and the wall reads as one continuous plane rather than a grid of raised lines.
The risk spikes when the drywall behind the paper was never primed or sealed before the paper was hung. In that case, the paste bonds directly to the paper face of the drywall, so pulling the wallpaper can tear that facing right off the board, leaving you with gouged, fuzzy drywall to repair. When you suspect that situation, painting over the paper can be the safer call than forcing a removal.
Both are poor candidates. Vinyl has a slick, non-porous face that resists paint adhesion, so the new coat struggles to bond and can flake later. Textured paper carries a raised pattern that shows straight through the finish, no matter how many coats you add. Vinyl and textured papers usually need to come off, or at a minimum be skim-coated smooth, before paint has any chance of looking right.
It can, in two ways. The painted paper becomes noticeably harder to strip later, because now you are fighting through a paint film to reach the paste, so you are handing a tougher job to the next person who redecorates. And any future moisture, from humidity or a small leak, can still reach and soften the old paste, lifting the paper. For those reasons, painting over is best treated as a shorter-term solution than a bare, properly primed wall.
Test it by hand before you commit. Press and tap around the seams, corners, and any spot that looks tired. Solid paper stays flat and sounds dull; if edges lift under your fingers, an area bubbles, or a spot sounds hollow when you tap it, the bond has already failed there. Any loose section has to be glued back down or cut out and removed before you paint, because paint will never rescue paper that is already letting go.
Book a free wallpaper-and-paint assessment — get an honest call on stripping versus painting over before you commit. Cesar's Painting serves Minneapolis, St. Paul, Bloomington. Call (612) 203-5856.
